Sie sind nicht angemeldet.


Zitat
Original von Plastinator
Hola Mario,
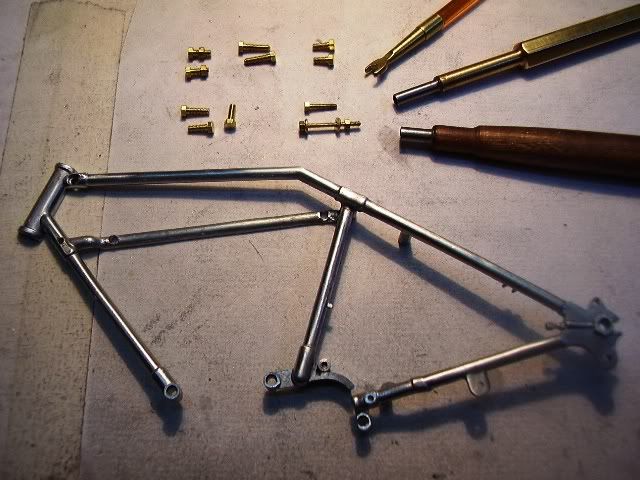
and welcome to this forum. What a promising start! I built this model many years ago and I still like it very much (please let me know, when you are interested in pictures of my model).
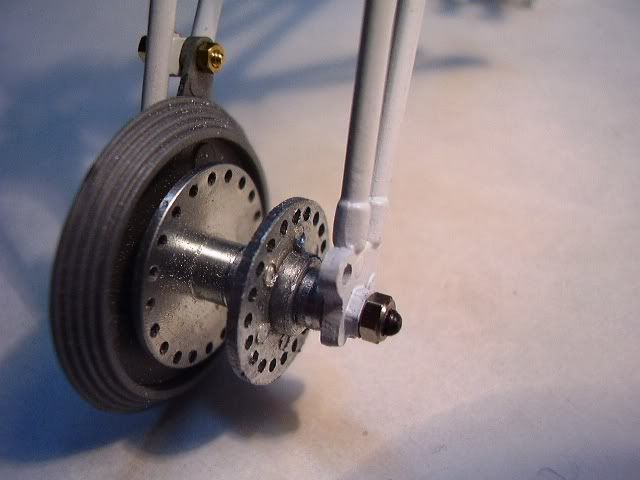
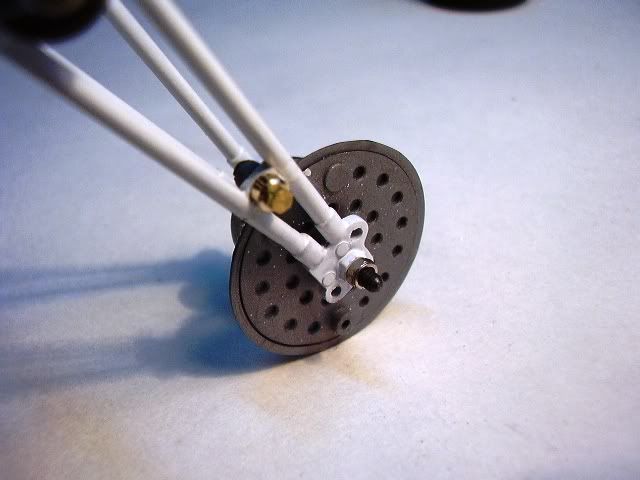
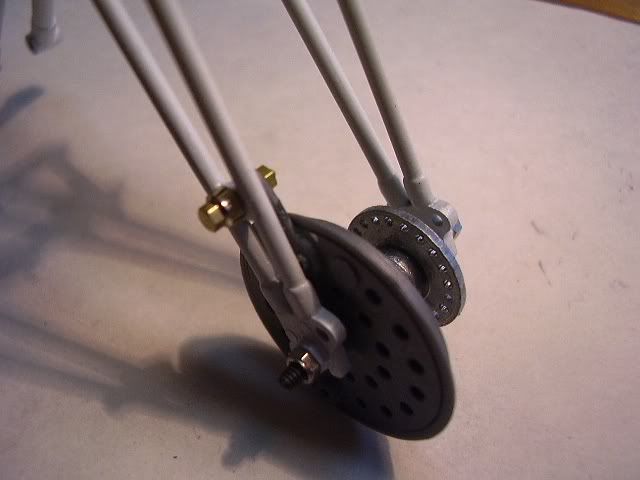
Just as hint: Take care when bending the spokes. Within my recollection, the bending-tool didn't deliver the required gauge and I spolit part of the needles in the kit. It was not so easy to find replacement. But don't loose heart.
I'll gladly watch your progress. Good luck!
Original von Plastinator
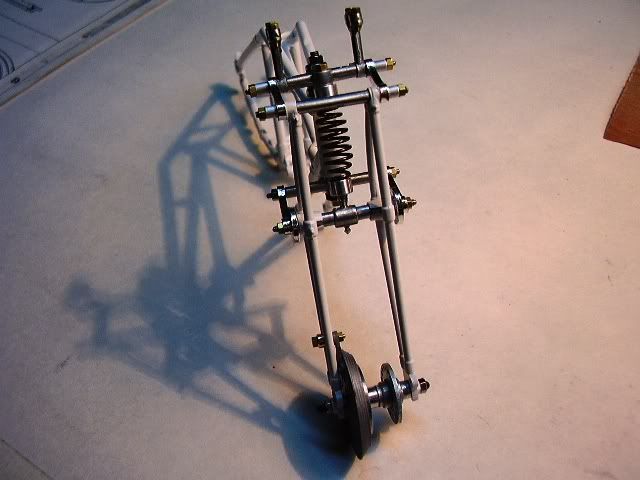
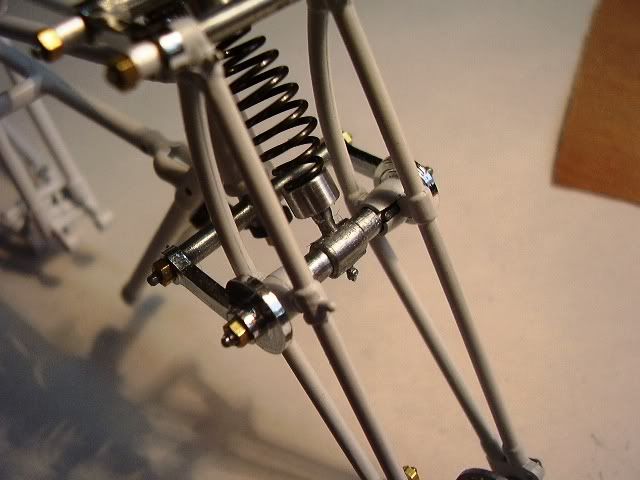
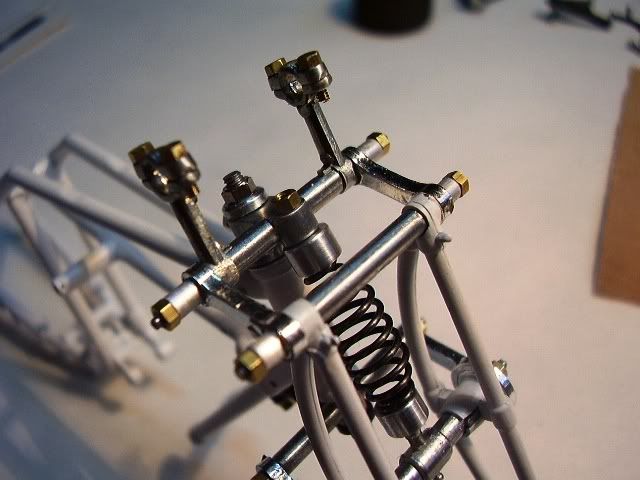
Here you are, Mario. I would be delighted if these pictures gave you some additional inspiration. I forgot to mention how I also admire your self-built toolkit (which looks very stylish). Enjoy:
Bianchi 350 "Frecchia Celeste"
 [/IMG]
 [/IMG]
 [/IMG]
 [/IMG]
 [/IMG]
 [/IMG]
 [/IMG]
 [/IMG]
 [/IMG]
 [/IMG]
 [/IMG]
 [/IMG]
Dieser Beitrag wurde bereits 1 mal editiert, zuletzt von »mariolucchini« (13. Juni 2010, 16:37)
Dieser Beitrag wurde bereits 1 mal editiert, zuletzt von »Plastinator« (13. Juni 2010, 18:57)
Original von Plastinator
Hi Mario,
excellent work, very good pictures: big compliments!
If you allow me to be a little picky: the cover you have so nicely improved with the mesh covers the chain between crankschaft and magneto (not clutch).
Für Interessierte unter Euch, die nicht so gut in Englisch untwegs sind: Die Struktur des mit Drahtgewebe versehenen Gehäusedeckels hat Mario dadurch erzielt, dass er der Farbe feinen Sand untergemischt und das ganze mit dem Airbrush aus größerer Distanz aufgetragen hat.


 But i must say that you do a great job. The Crankcase (?) ,the Mesh,the Pinion,it all looks fantastic as just as the real parts.I will still follow you by your work

Original von Mopped
Hallo Mario,
my english is very bad so that its hard for me to write
Greetings,Rudi


Original von keramh
Hello Mario,
Pictures become here only with [IMG] at the beginning and [/IMG] in ends opposed.
Additional [/IMG] at the beginning and end does not need are put.
I have reworked your last contribution accordingly.

Forensoftware: Burning Board®, entwickelt von WoltLab® GmbH
