Sie sind nicht angemeldet.

 .
.Dieser Beitrag wurde bereits 1 mal editiert, zuletzt von »kevin22« (24. März 2009, 00:02)
 Nige
Nige Dieser Beitrag wurde bereits 1 mal editiert, zuletzt von »okdoky« (24. März 2009, 21:42)
Zitat
Original von okdoky
Hi Alex
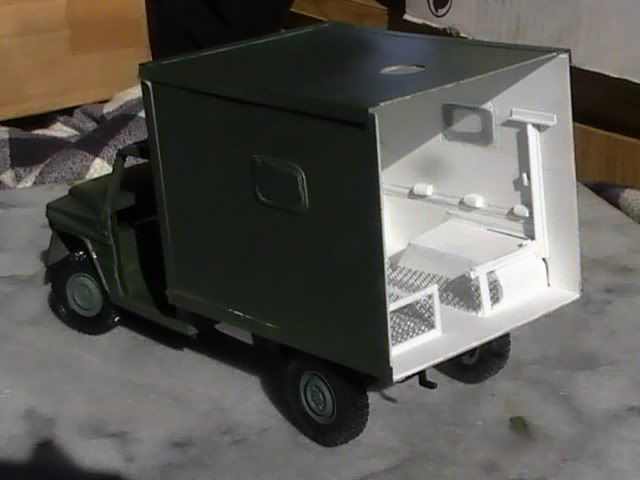
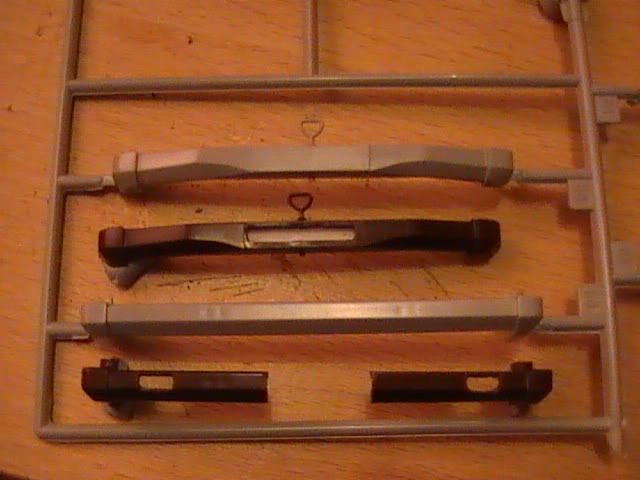
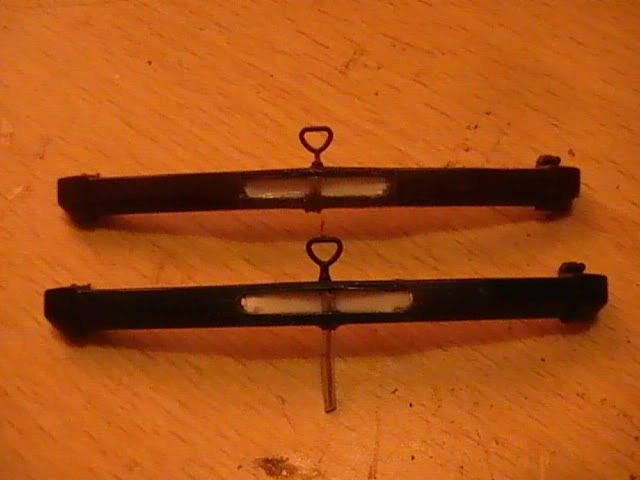
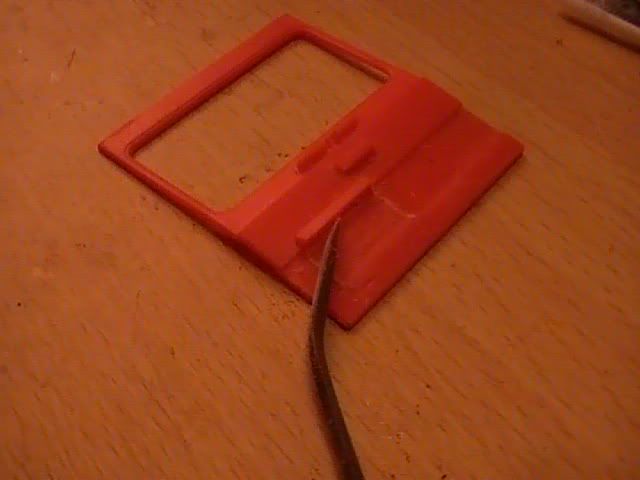
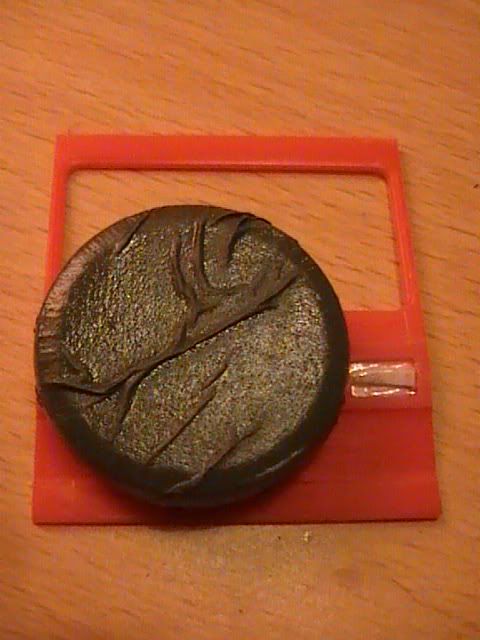
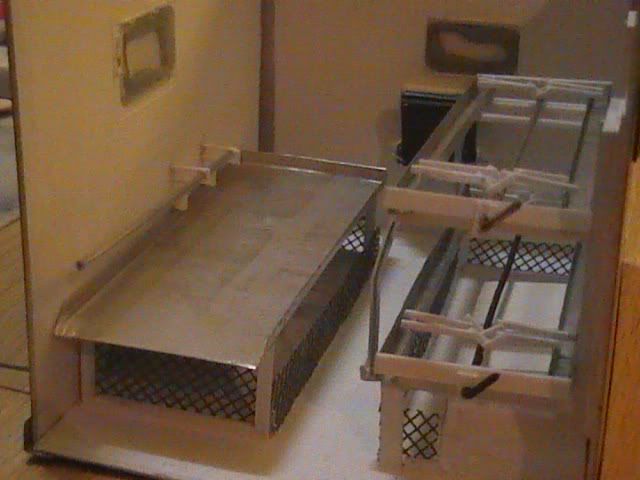
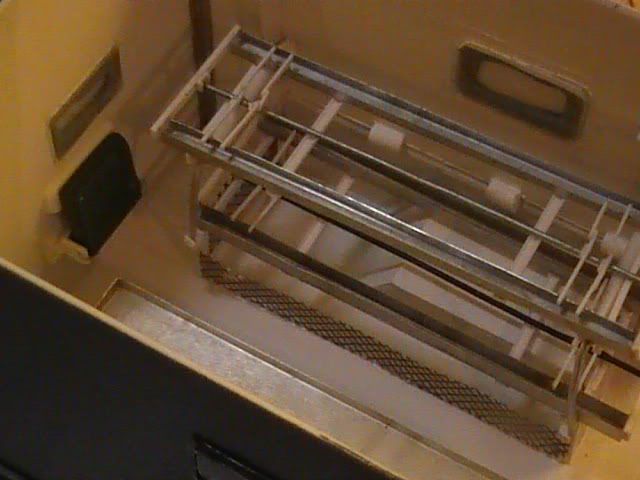
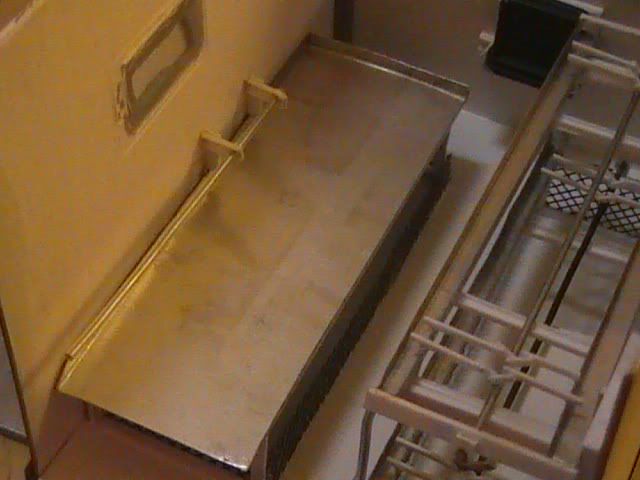
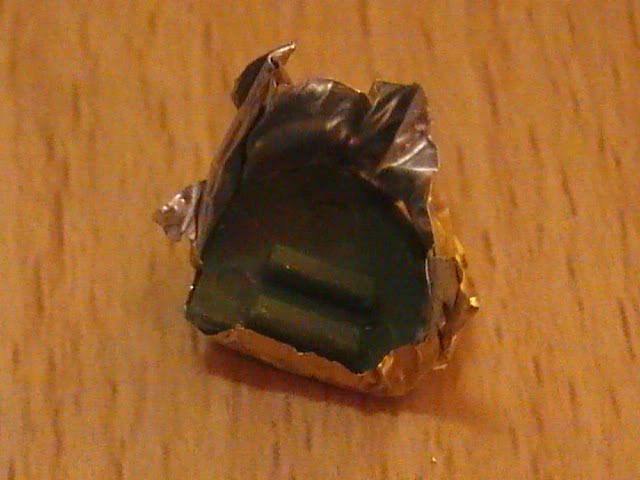
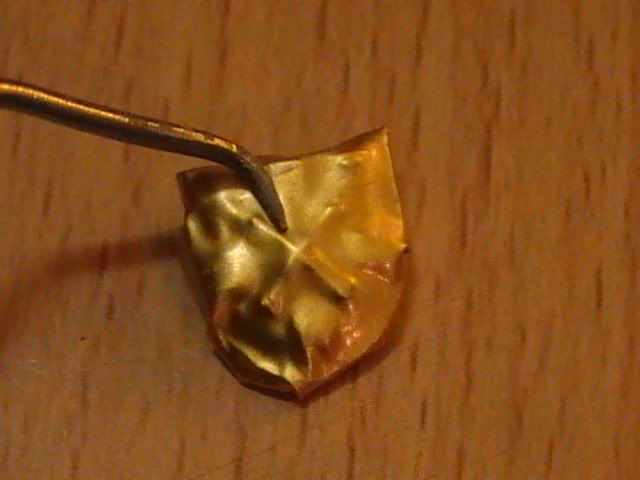
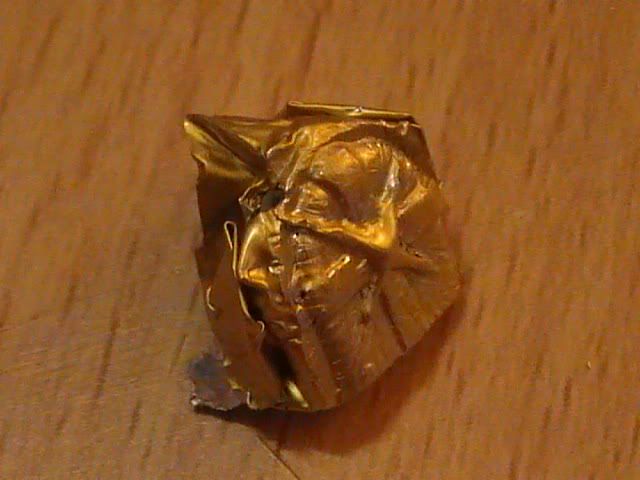
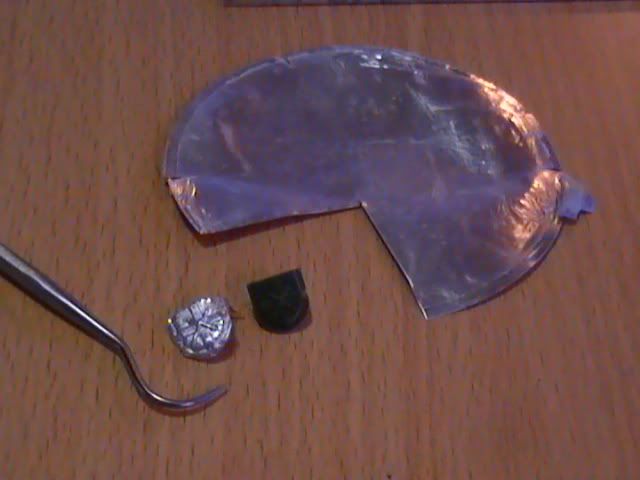
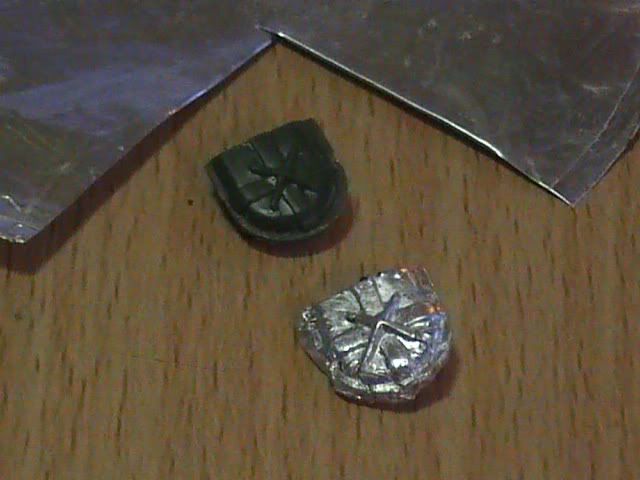
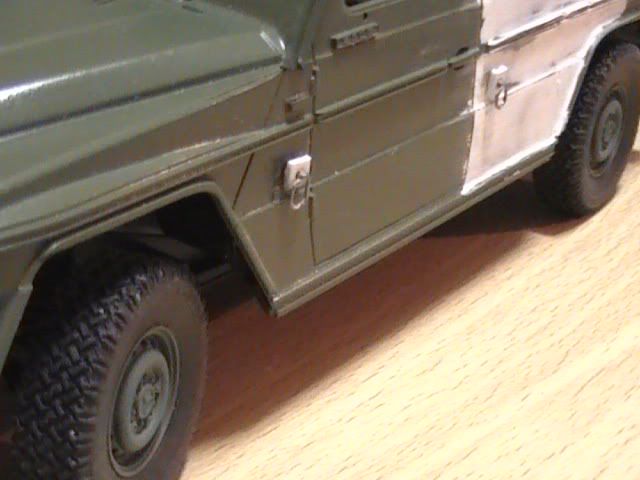
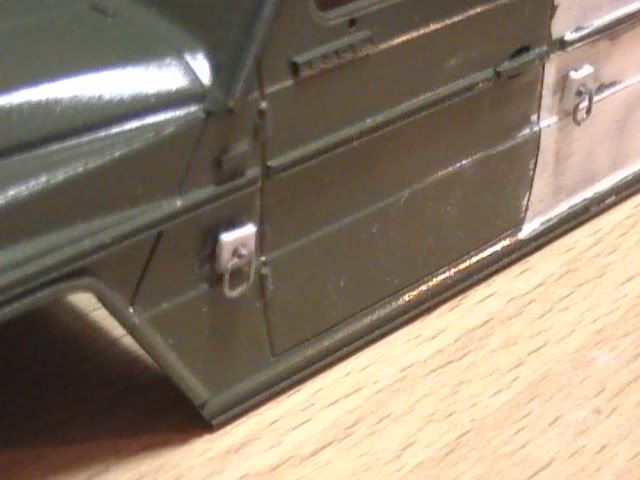
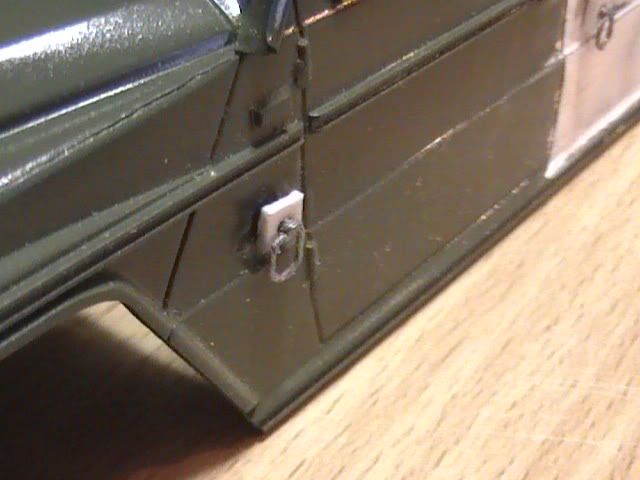
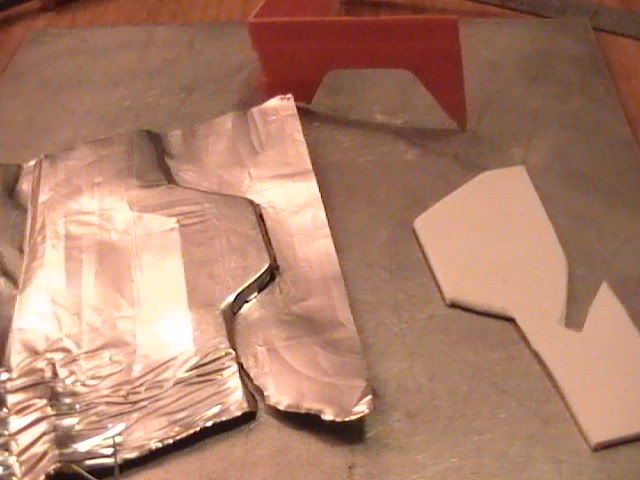
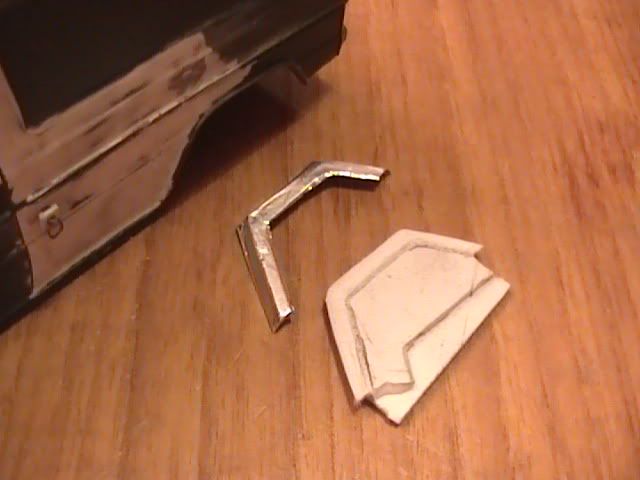
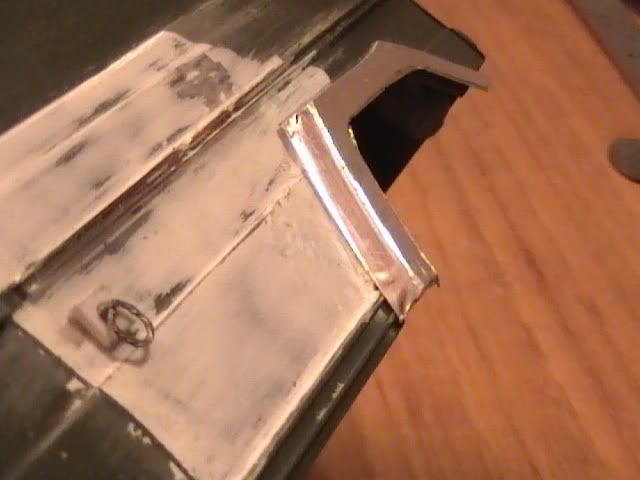
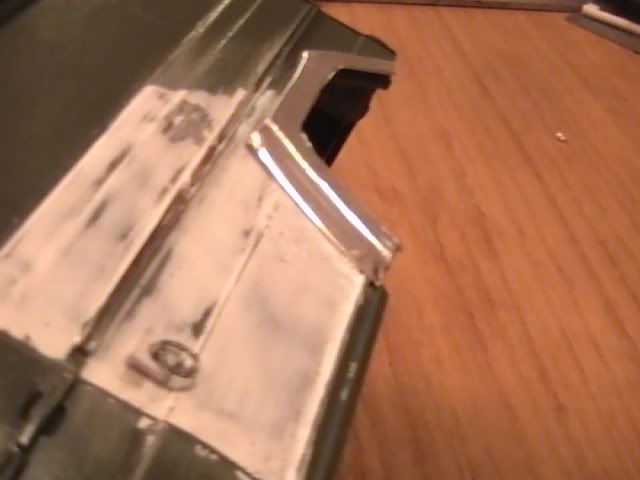
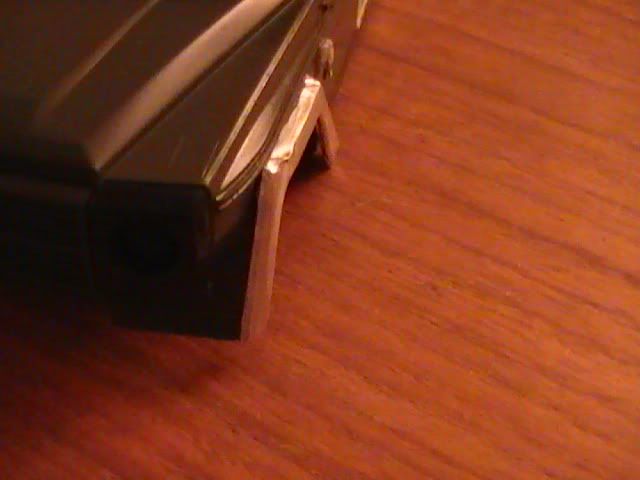
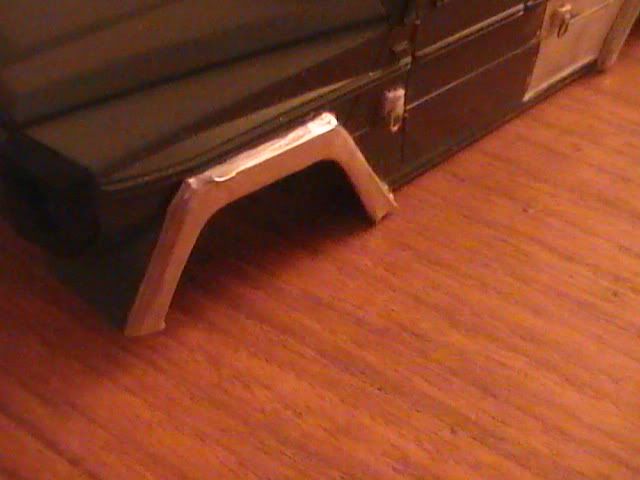
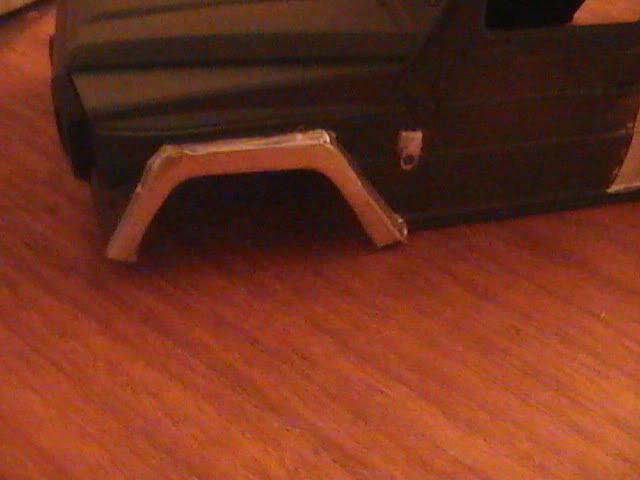
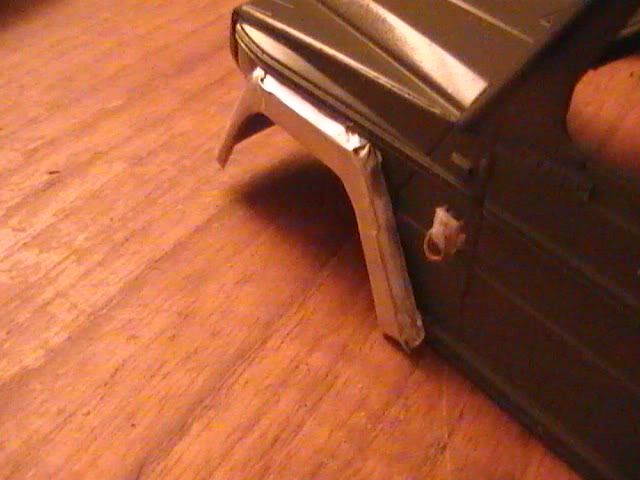
Measuring the alumium foil with a micrometer puts the thickness at between 0.05 and 0.07 mm thick.
 ...
...
I save all the carry out and roasting trays that are made up of aluminium foil and save a fortune on buying plastic sheet of the same thickness.
aside from the fact that it is free and sometimes only needs a quick trip through the dish washer before use, I find that I can make complicated shapes with bending and pressing just like a metal fabricator does with car panels.
 we´ll only have to get through our world with open eyes .
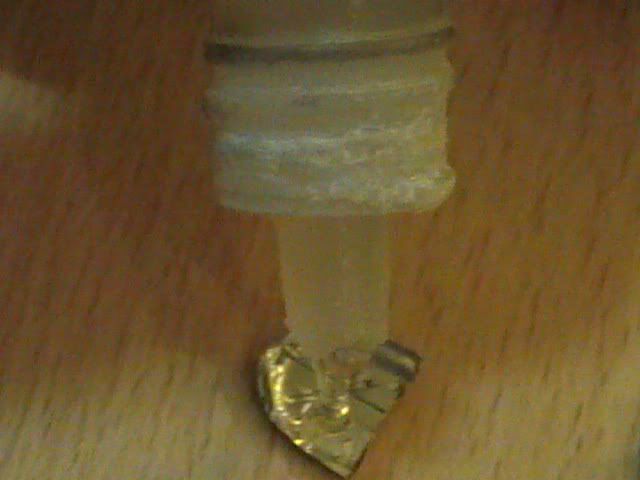
I am still learning but there is a friend on another site, Ian Sadler, who uses toothpics to burnish the foil into shape around plastic parts from kits or where ever he finds a patern or shape on everyday objects and uses the foil to replace overly thick moulded parts on kits.
I would love to have the skill he has with the foil.
 .
.
And as you say, I do need to get on with the models if I am to get them on show in April. So must get the finger out my a** and get working.

 Wise words - let´s go back to modeling then

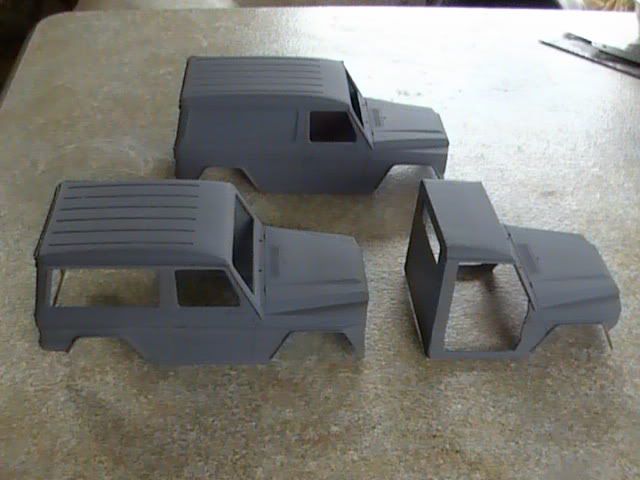
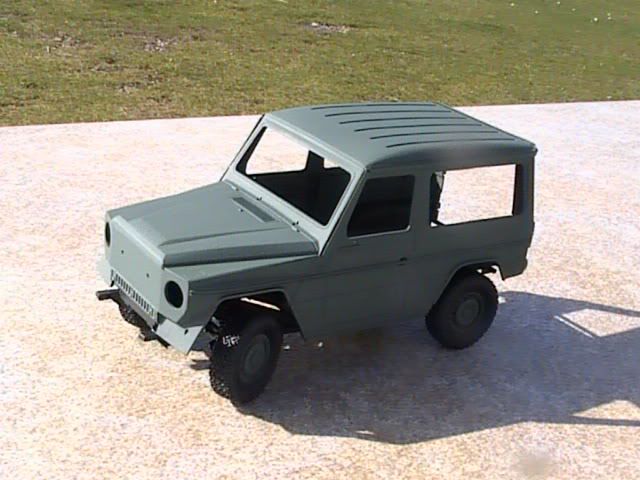
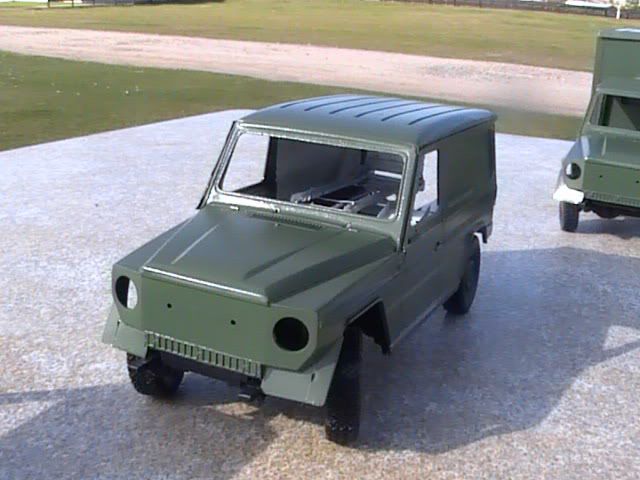
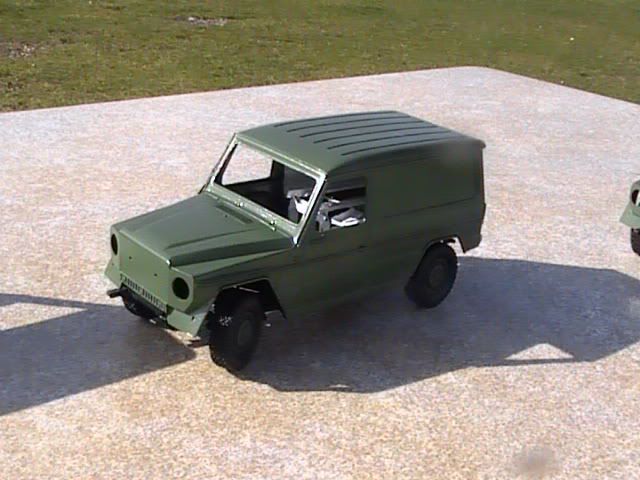
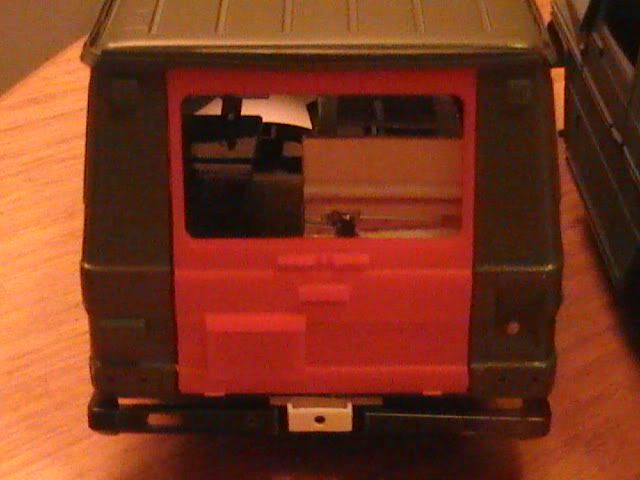
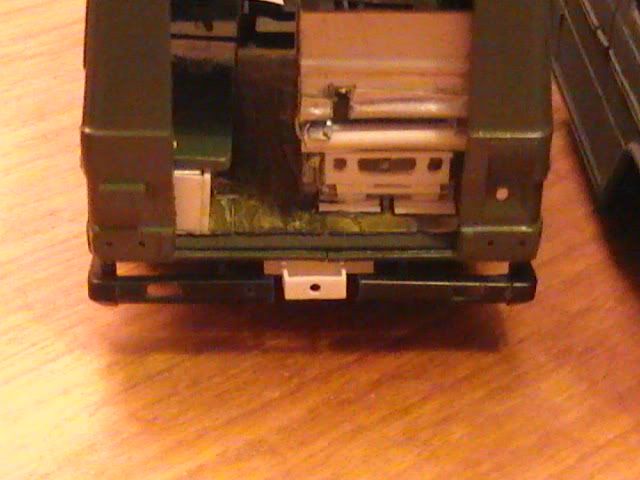
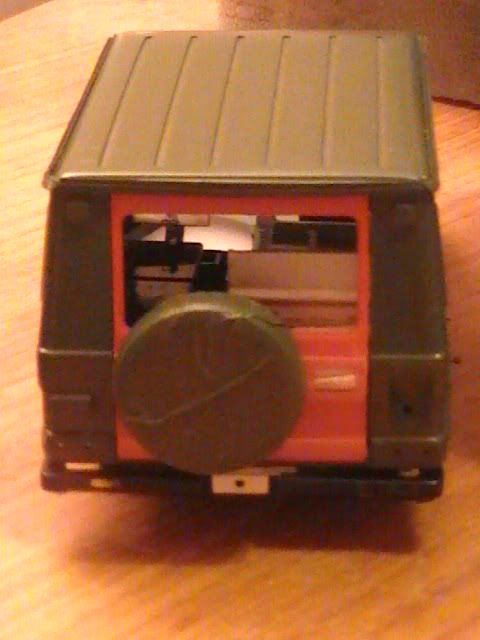
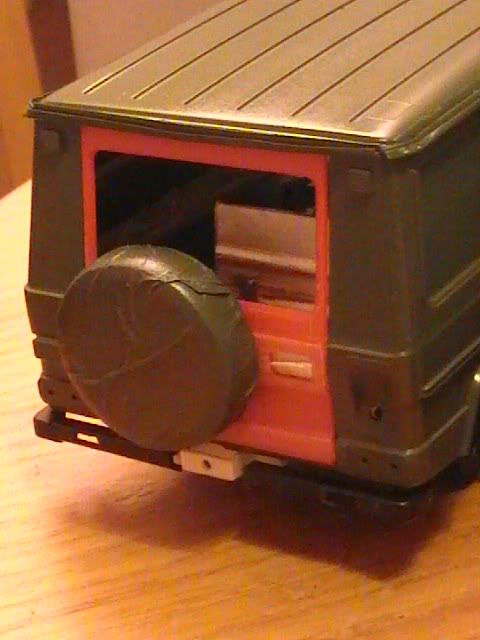
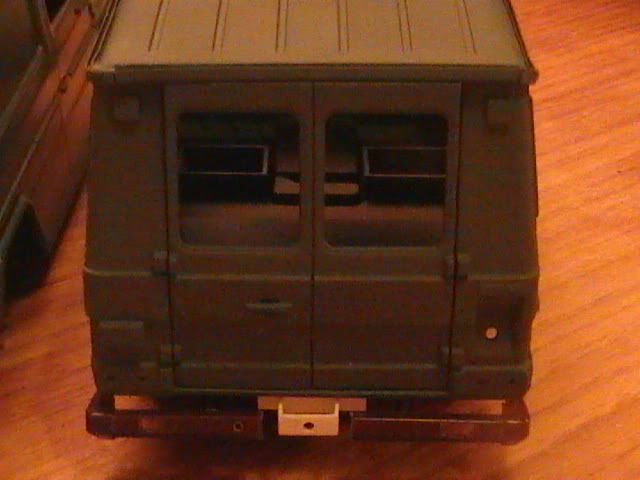
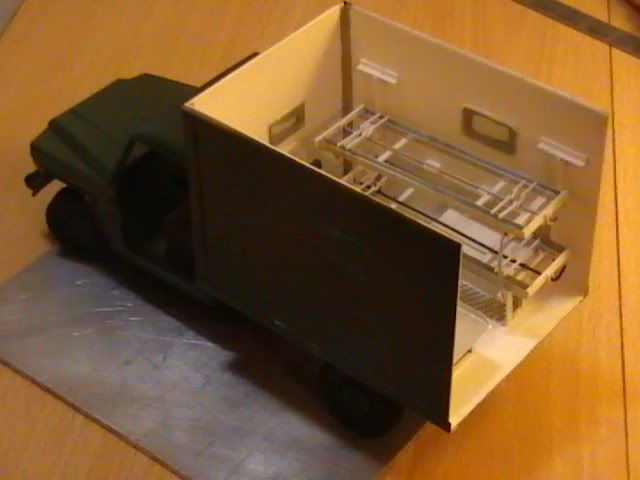
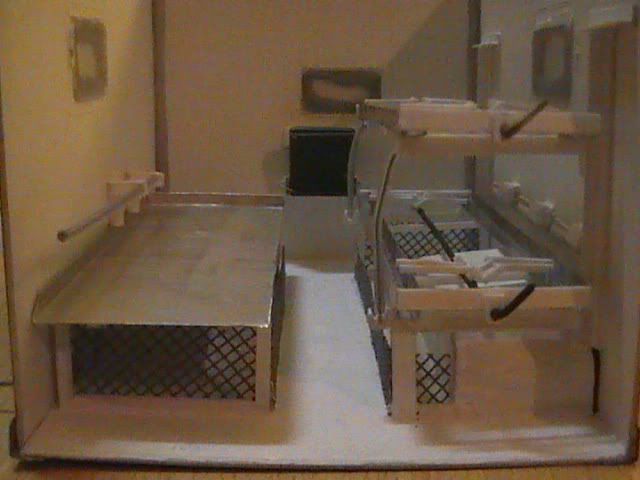
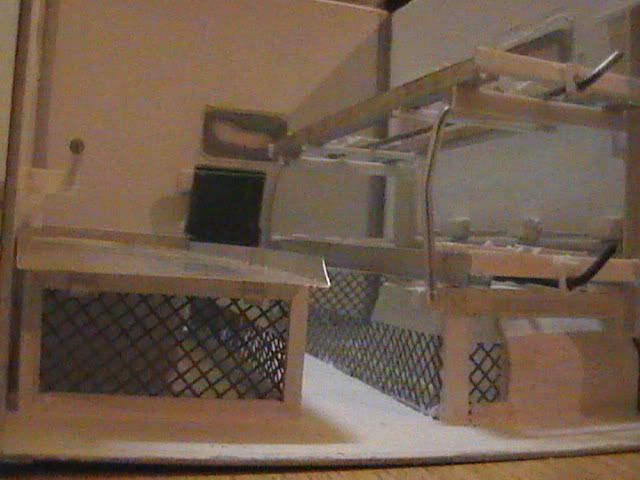
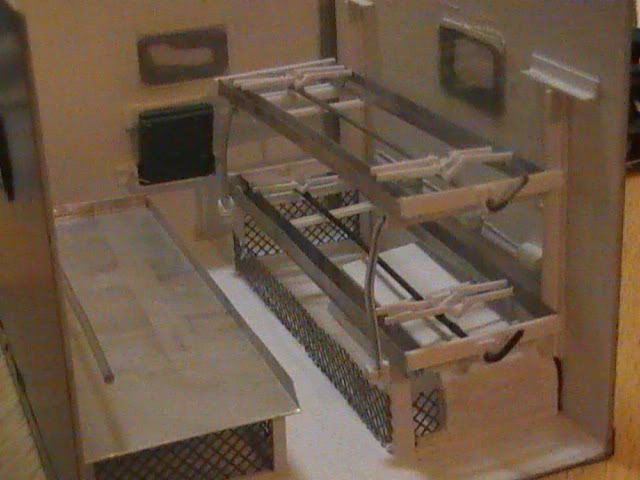
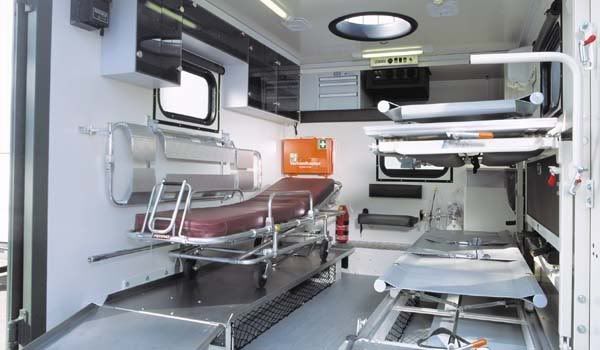
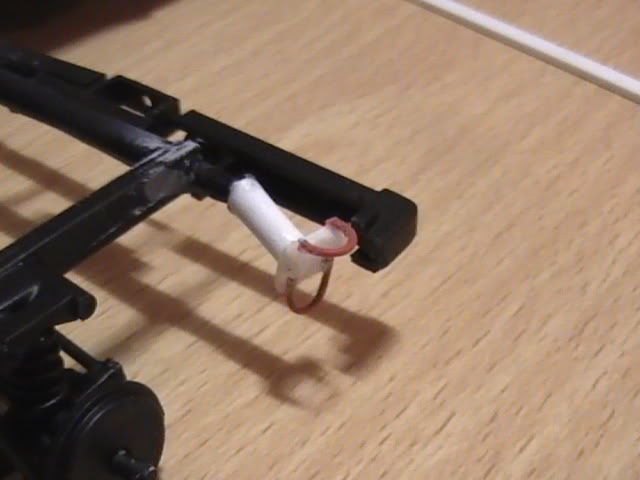
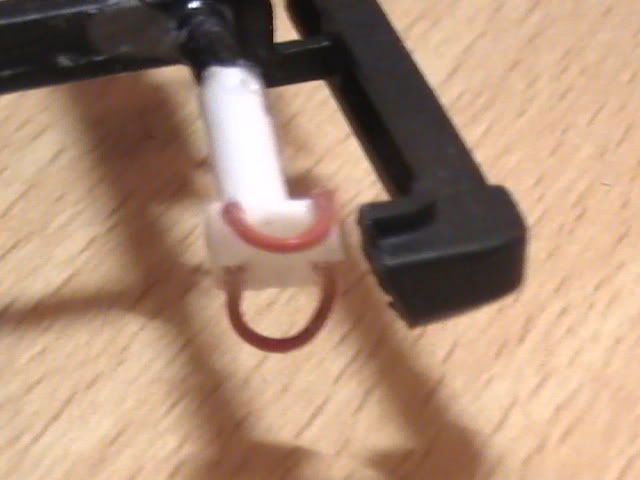
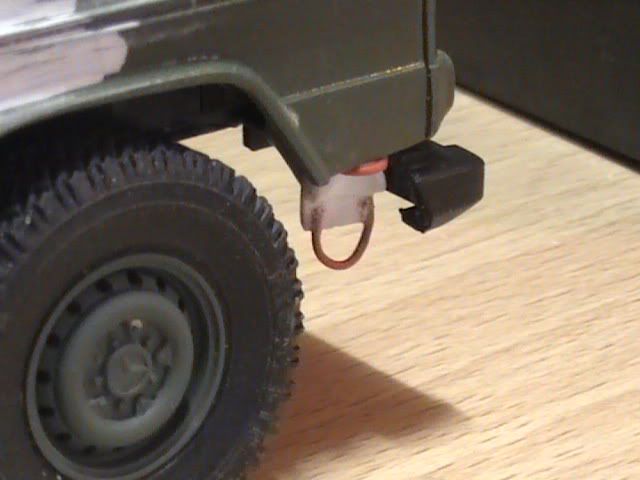
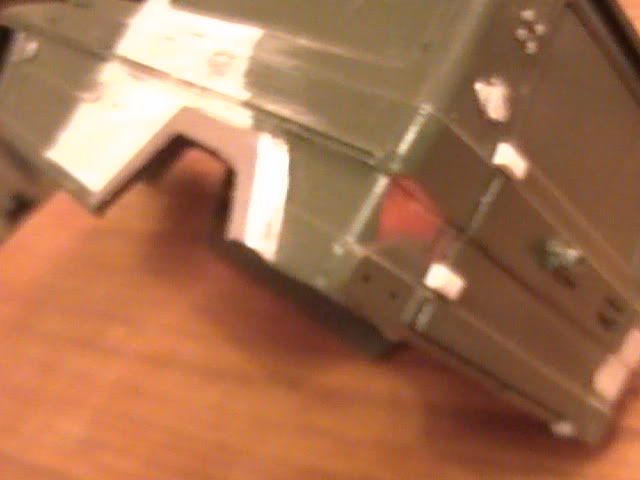
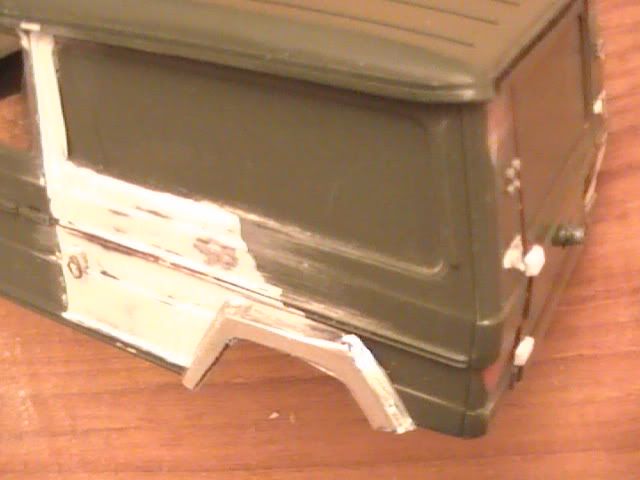
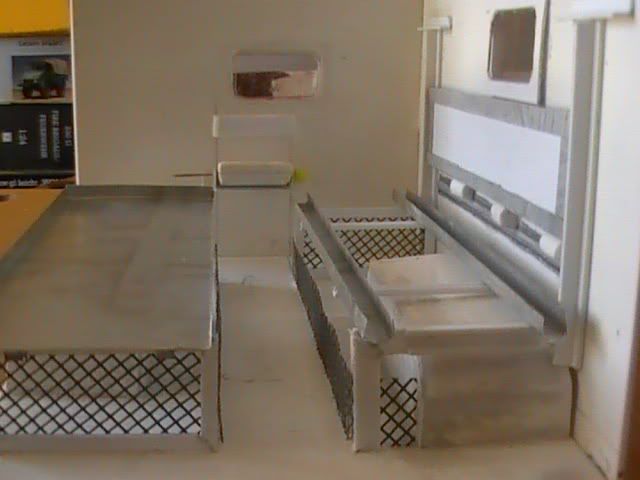
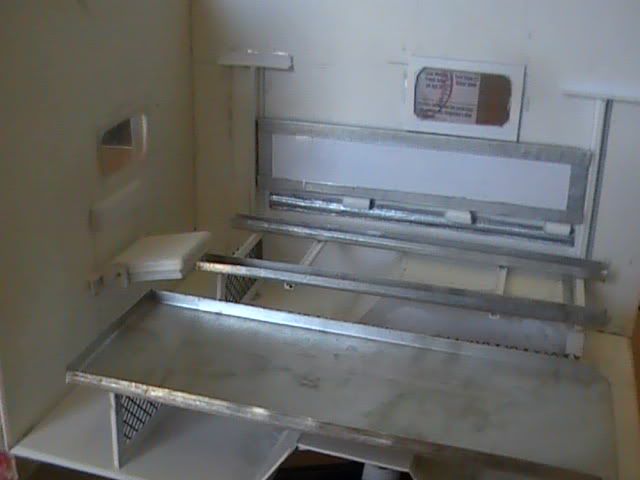
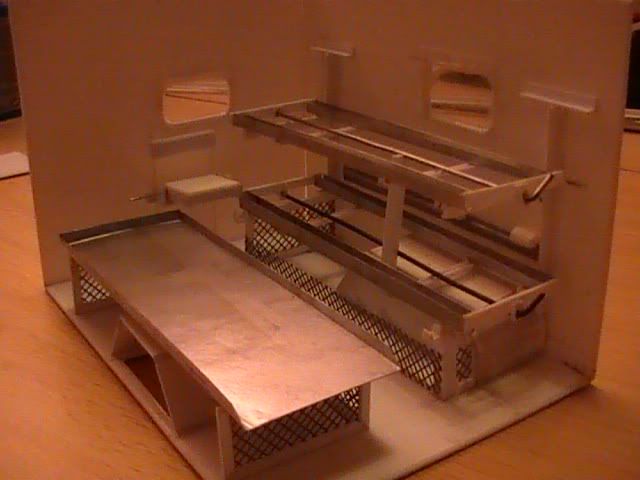
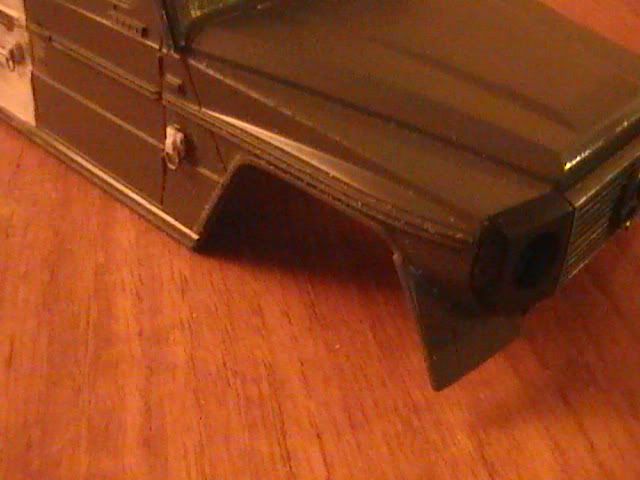
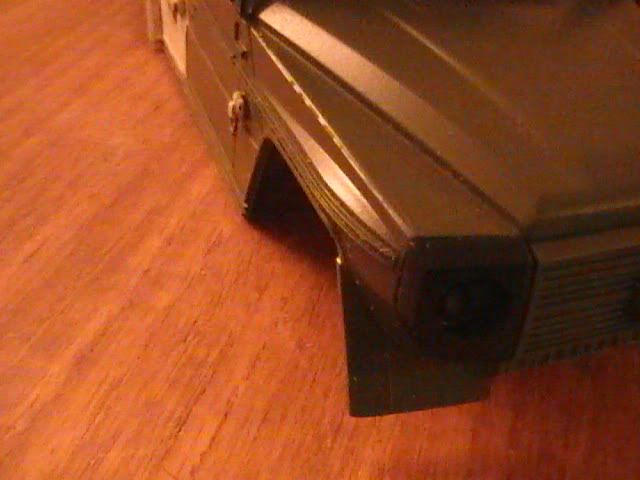
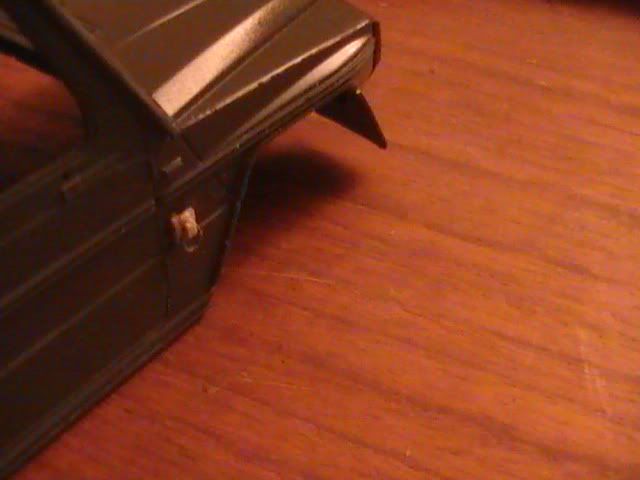
 Am much happier with the look


Original von okdoky
.... [snip]
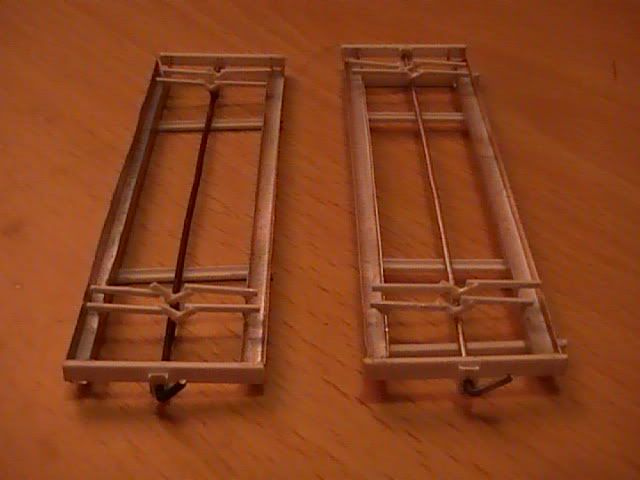
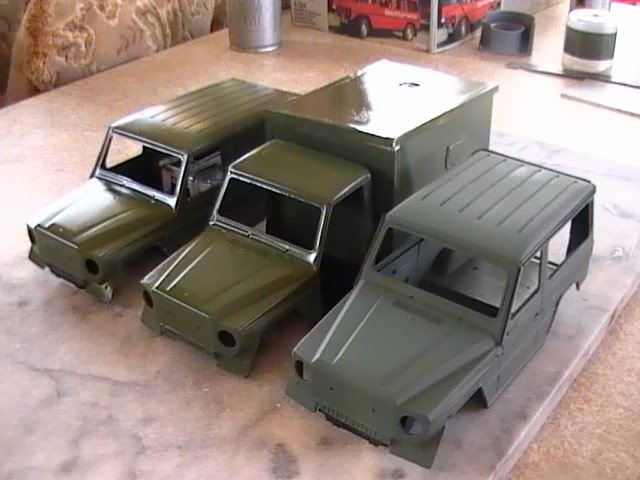
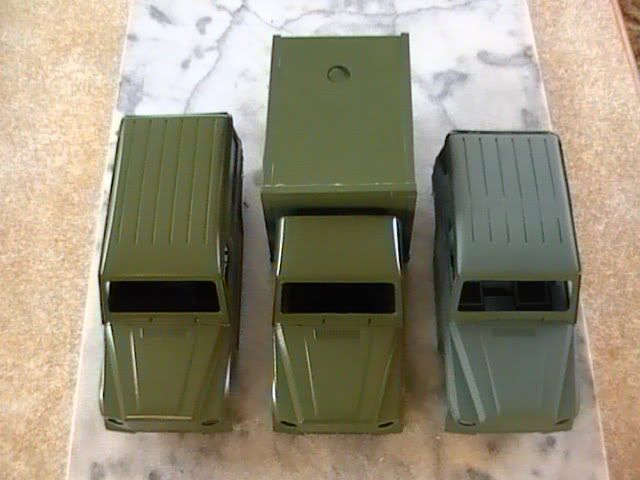
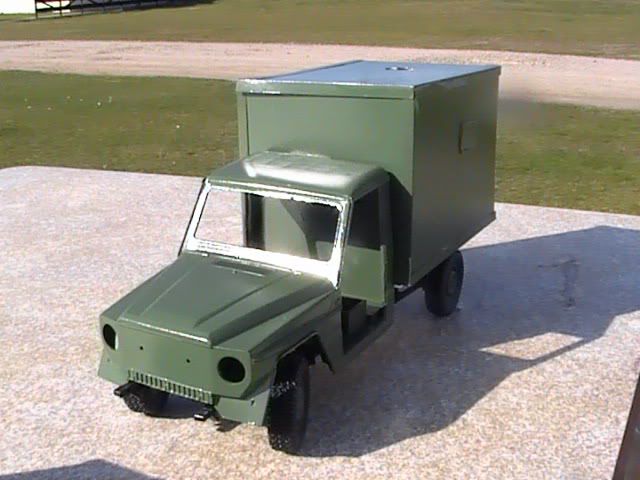
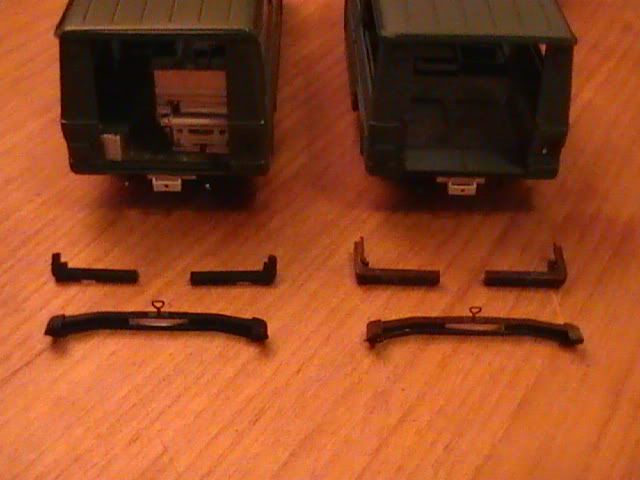
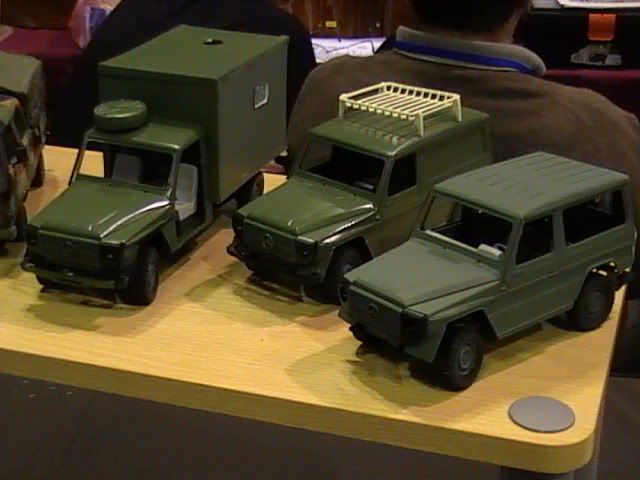
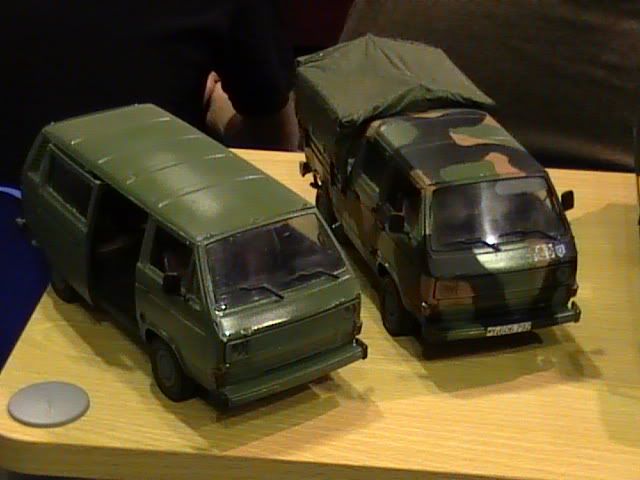
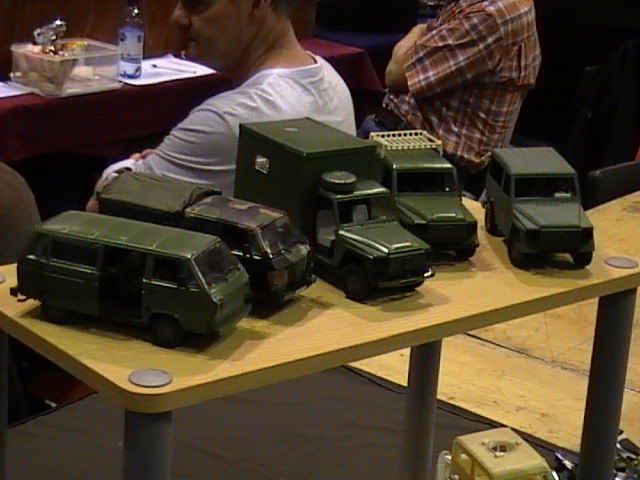
Looks like I will have these at Perth as in progress models only. Never mind I can be doing things to them while I am sitting at the table. [snip]
Nige

 Thanks for the support all
Original von dulti500
Hallo Nige
nice work i can see. I like it. very good.
I hope, i can see it in germany sometime
Greetings Dulti
(my englich is not good!!!!)
Forensoftware: Burning Board®, entwickelt von WoltLab® GmbH


